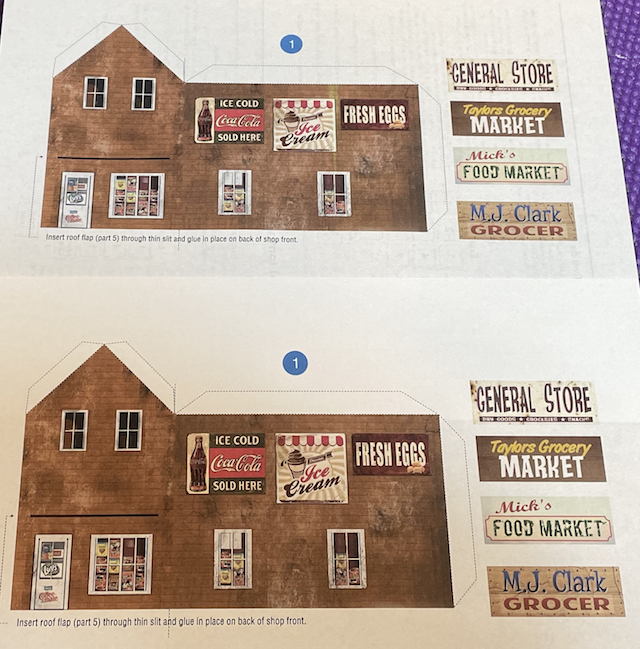
The three sheets of exterior texture, for the structure, were printed on plain white computer printer paper. 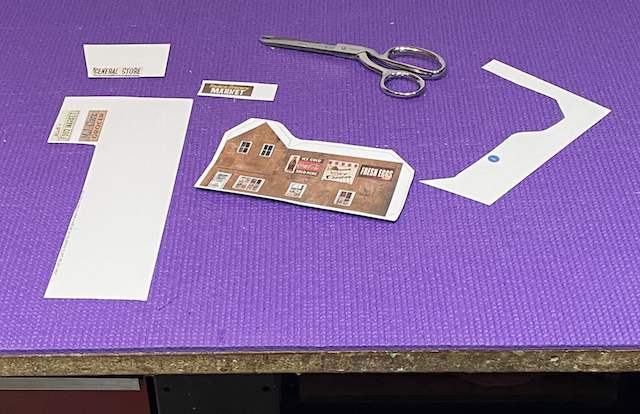 Before purchasing the cutting mat at Wallmart, I used an inexpensive Yoga mat as a cutting mat. It was rolled out across my workbench top before construction began. The printed paper was cut out, using scissors, leaving about 1/4" from the printed lines. 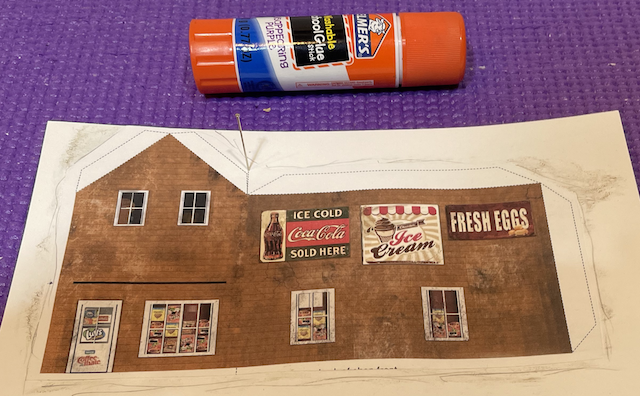 The printed paper was attached to the cardstock using an Elmer's Washable School Glue Stick Disappearing Purple. A straight pin was pushed through the cardstock so that the fold lines could be identified on the back of the cardstock. Pushing the pin through the cardstock works better on the Yoga mat than on the cutting mat. 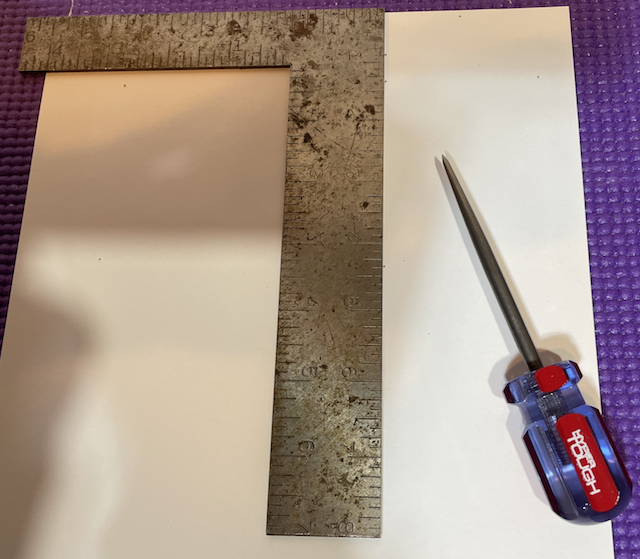 The cardstock was turned over and the awl was used to scribe all of the fold lines. 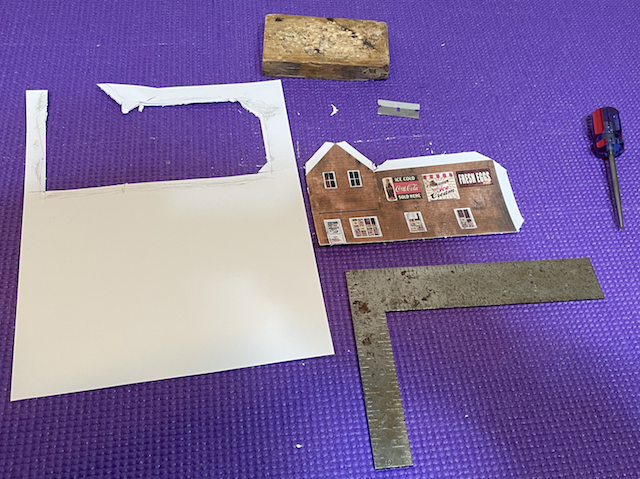 The cardstock shape was cut out using a single edge razor blade and an 8", 90 degree, metal square as a guide. 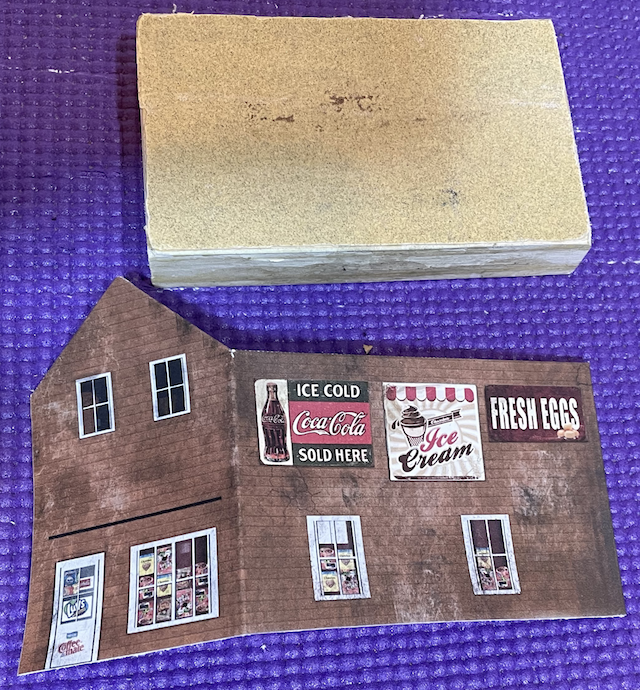 The tabs and side were folded and creased. Sandpaper was used to clean up some cardstock fibers. Since this was a test to see if I had the ability to create a convincing structure using this method, I decided to cut out the windows and door and stand them off, from the frames, using some scale thickness spacers. The cardstock averages about 0.0085" thick.
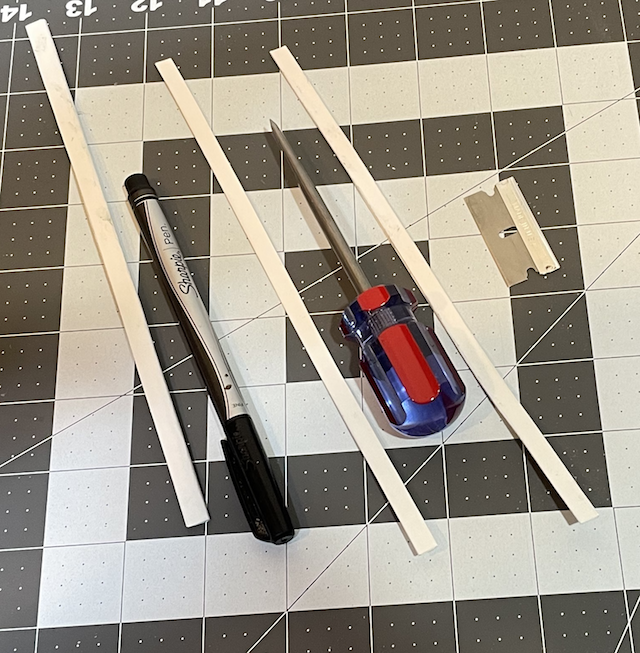 Scale thickness spacers were made. For the scale 2" thickness, 1/4" from the 8.5" edge of the cardstock was measured for the strip width. A metal straight edge was placed along the marks and the awl was run along the straight edge to create a crease line. The cardstock was folded over onto itself. A second crease line was created using a metal ruler and the already folded cardstock as a guide. Once the last fold was made, the three folds were cut off using the metal rule and a single edge razor blade. Aleene's Original Tacky Glue was used to glue the layers together. The 5 scale inch thick spacer was made the same way, except there were 6 crease lines and seven layers. It is important to glue all of the layers of the cardstock together. Sometimes a full 1/4" width is too wide as it might interfere with a tab or another piece of spacer. If all of the folds have been glued, then the spacer can be cut down from its 1/4" width to something narrower. 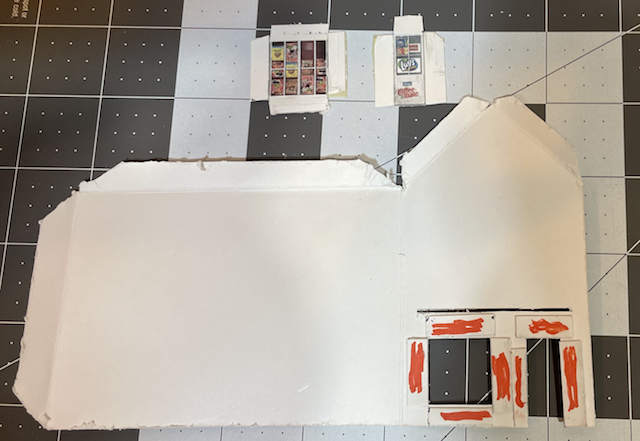 The window and door were prepared to glue on. 1/4" wide strips of cardstock were masking taped to the previously cut out door and window to give them the same thickness. (An alternate method to taping on cardstock spacers is discussed here.) 5 scale inch thickness spacers were glued around the door and 3 scale inch spacers around the window using Aleene's Original Tacky glue. The previously glued on spacers have orange marker on them to show up in the photo. 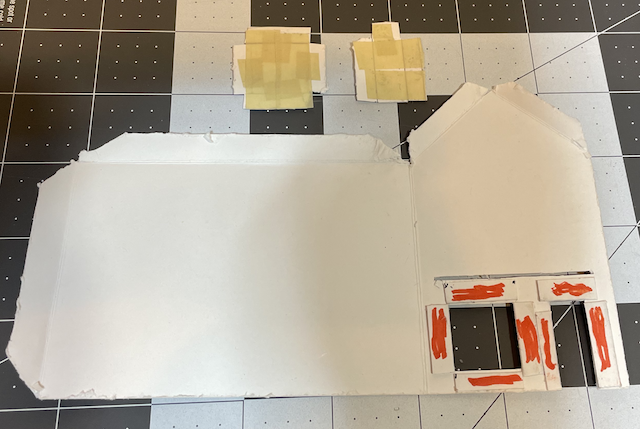 This photo shows the backs of the door and window with the masking tape on them. 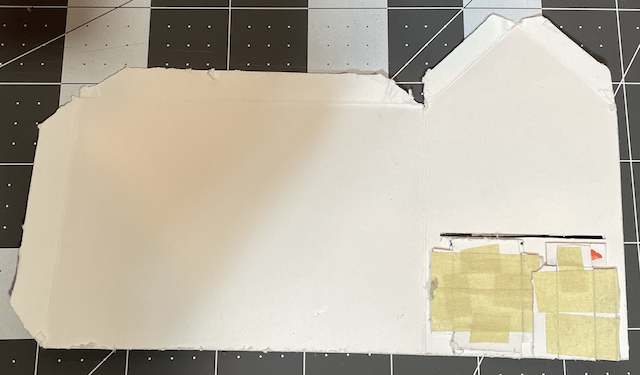 This is a backside view of the pieces glued into place with Aleene's Original Tacky Glue. 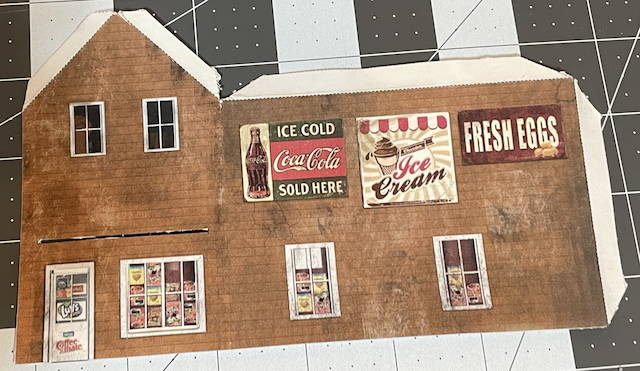 This is a front side view of the pieces glued into place with Aleene's Original Tacky Glue. Note that the slot for the awning had been cut out at the same time the door and window were. The awning had also been assembled and test fit. The four remaining windows on these two sides were completed in the same manner. 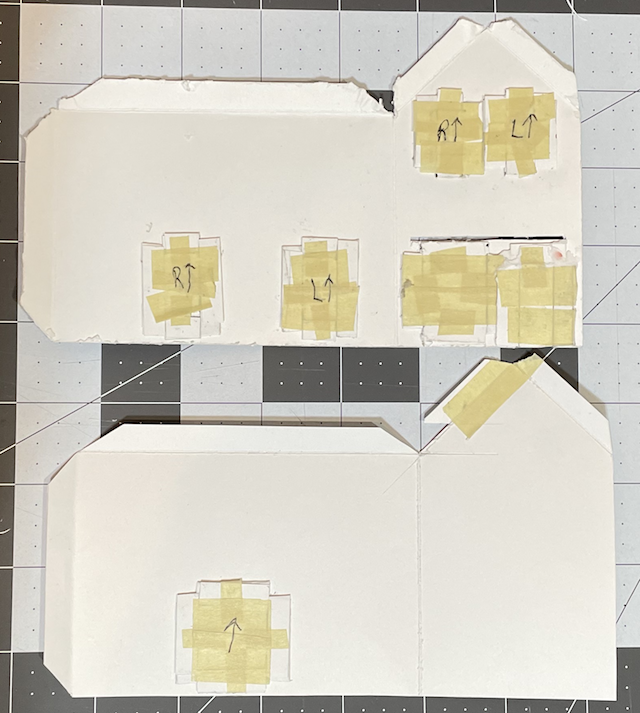 Both sides were finished. This is the view from their backsides.  This is their front sides. The store sign and awning were also added at this time. 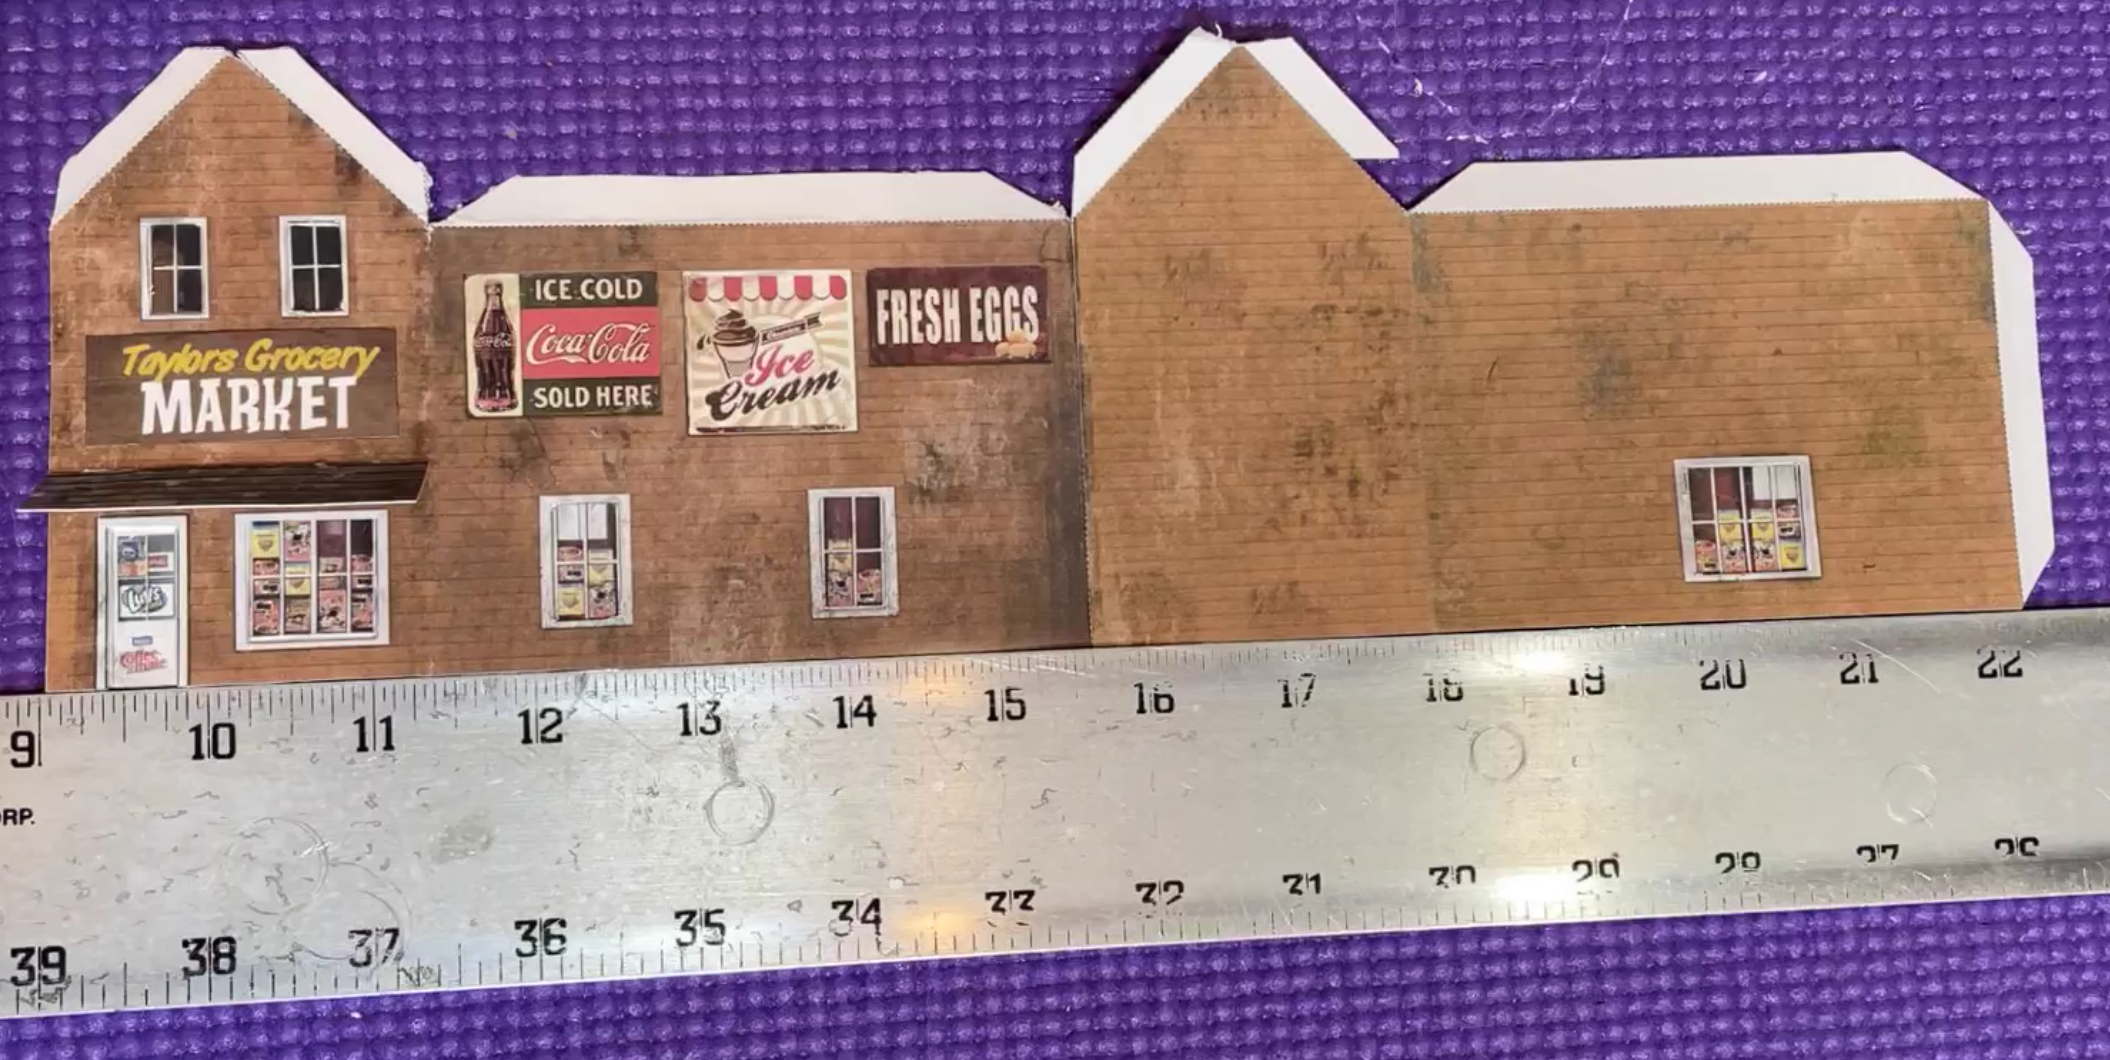 The sides were joined using a straight edge along the bottom. 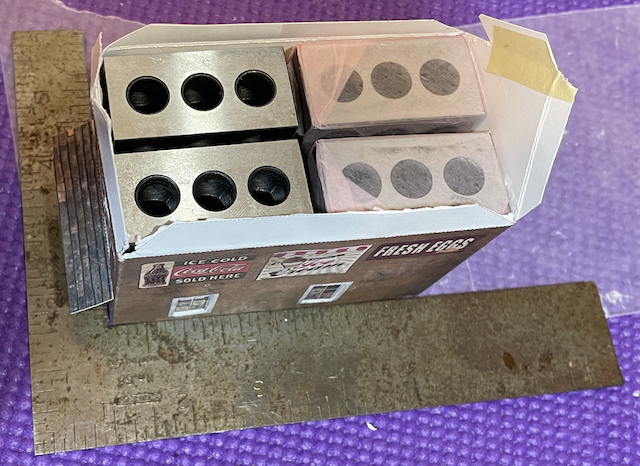 An 8" builder's square and 4 1-2-3 blocks were used to hold the structure in alignment while the Aleene's Original Tacky glue, in the corners, dried. Because of the way the door and windows above the door were constructed, the tab on that side had to be modified to fit correctly behind the front wall. Using the square and 1-2-3 blocks did not work well. I would use 1/4" balsa triangle stock in the corners. When there is a second story, I'd build a balsa frame that just fits inside the base and glue that frame up near where the peaks of the roof start.  For a first attempt at building a cardstock structure, it turned out reasonably well. It was also a great learning tool. 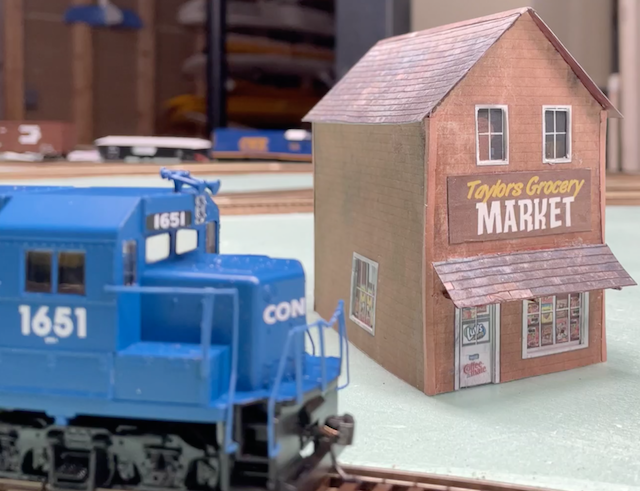 Remembering that less glue is better, Aleene's Original Tacky Glue is really good for this purpose. Small amounts of glue can be put on the piece to be glued, wiped with a finger to remove most of the glue from the surface, and the finger cleaned on a rag, when the part is pressed into place it almost acts as fast as CA glue. Sharpie markers were used to color the edges of the white cardstock and the regular computer printer paper used to make the shingles' roof cap. They were also used to color the roof overhang or soffits as well as the 1/16" square awning supports. 1/16" by 1/16" balsa was used to make the supports for the awning. They were colored with a brown marker. Brown construction paper was used for the 4 corner end caps over the siding.
This method requires that two prints of each of the structural sides with doors and windows be printed. I accidentally printed one of the trial sheets on the back of a previously printed piece of computer printer paper, but that was okay for this trial test. 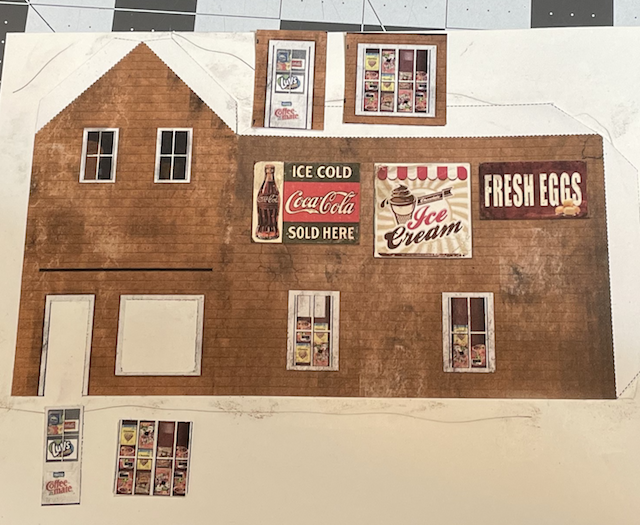 The door opening and window were cut to size from one of the prints and the door and window were cut over-size from the other print. 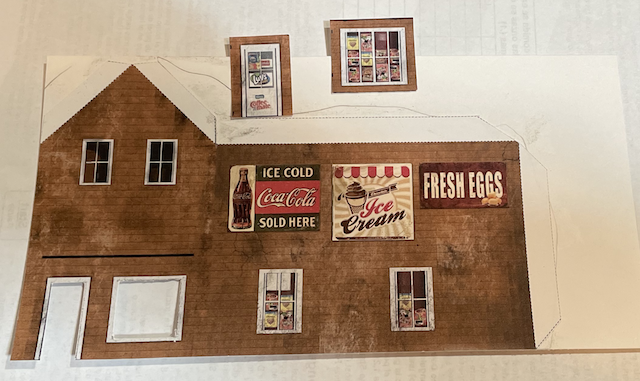 The printer paper, with the openings for the door and window, was glued onto the cardstock. 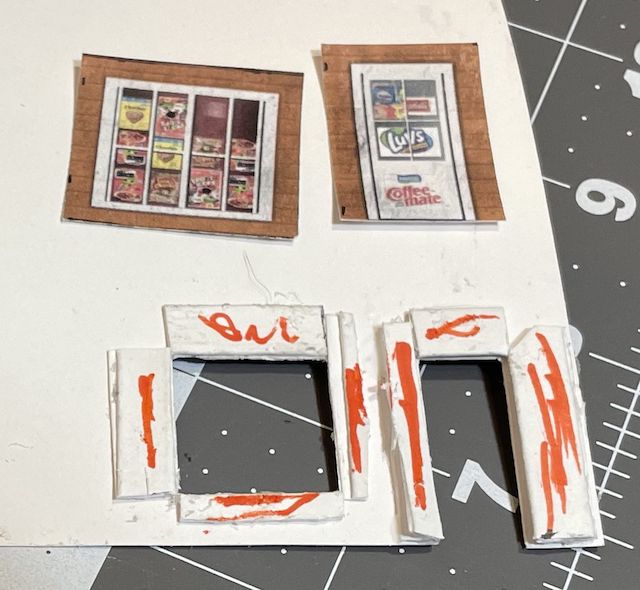 The three fold and seven fold spacers were glued onto the backside. They needed some narrowing to fit and the piece by the door needed to be glued down. Again, they are marked with an orange Sharpie to make them more visible in the photo.  The door and window over-size cutouts, which were on the backside of previously printed paper, were Tacky glued to the spacers. 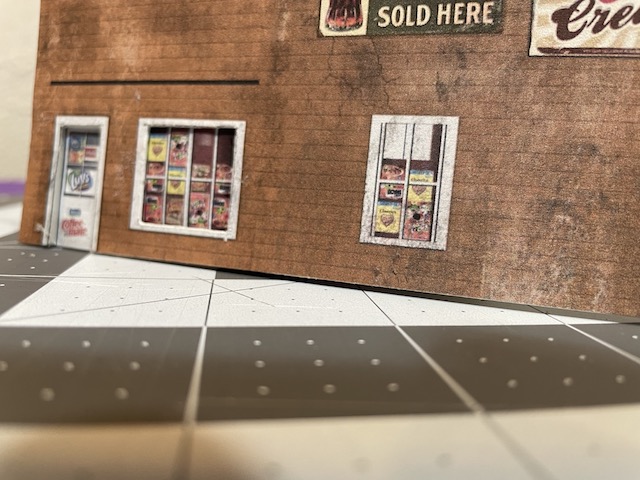 The low angle photo shows the same effect was achieved using this method. At this point in time, I prefer my original method because it only requires one print and printer ink is expensive. It also doesn't save a lot of time using this method compared to my original method. It is easy to see the difference when using the spacers compared to the flat printed window on the far right. Since creating that trial test, I also learned the door and window frame can be cut out and placed on the top of the flat side to provide even more relief. |