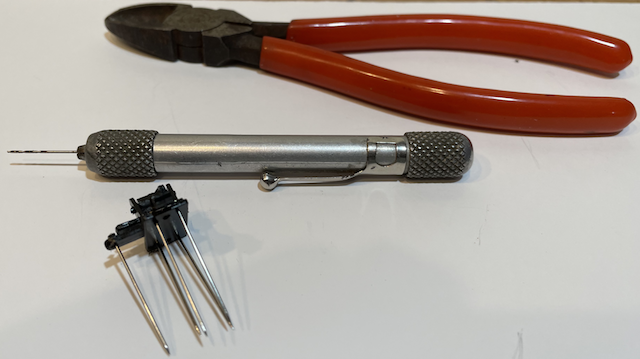
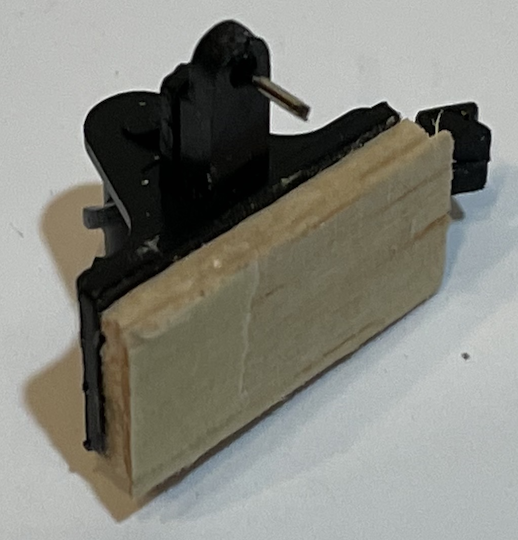
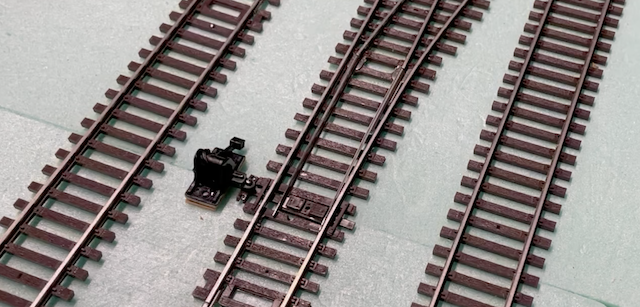
A right turnout, which had previously shown no derailing problems, started to derail the locomotive and cars. All of a sudden, the wheels seemed to be "picking the points". A couple of YouTube videos were watched. One was about solving that type of problem. The other was about using Caboose Industries HO Ground Throw Sprung 5 CAB5202S HO Track ground throws. Finally, a previously purchased Caboose Industries Ground Throw was modified and used. It did fix the problem. It appeared that the Atlas manual switch machine arm was too flexible and was not closing the points completely.  The tools used to modify the ground throw were a pin vice with a bit the same size as a straight pin and a pair of side cutters.  On the ground throw, the side opposite the pin side of the slide has a circular indentation on the bottom. The pin size drill bit was used to drill through the indentation. Four pin holes were also drilled in the base for insertion of straight pins to hold the throw on the foam. The straight pin, passing through the part of the slide with the pin in it, was snipped off. I also snipped off the part of the slide with the molded pin on it. That was NOT NECESSARY, nor really needed. For a better looking ground throw, the molded pin can be nipped off, leaving the rounded end on that side of the throw.  To get the ground throw to the proper height, in this area of the layout, to mate with the slide throw on the Atlas turnout, a 3/32" balsa shim was glued to the bottom of the base and a pin shortened to go through the hole on the switch slide. This should have been a clue that something was very wrong in the area of the layout where the problematic turnout was located. The Caboose Industries ground throws are designed to be used without needing to be shimmed. I was not aware of that originally, as this was my first installation of a ground throw. Later, I discovered, that to mate the Atlas turnout to the ground throw, no shim is needed!!!  The modified throw was installed onto the problematic turnout and the turnout appeared to work well with the Conrail GP15-1 and its trailing boxcar and all of the other 9 pieces of rolling stock available at the time.
Unfortunately, the "fix" did NOT work when the CSX GP15-1 was tried with its gondola battery car. The whole problematic area of track was loosened so that it could be rearranged. The problematic right turnout was laid on the flat kitchen counter. It had a very pronounced bow in it from one end to the other with the apex of the bow being about 1/8" above the counter. I attempted to remove the bow by working the track, very gently, over the counter's edge, while trying very hard not to mess up the turnout altogether. When the track was reassembled on the layout, the problematic right turnout with the ground throw, which had been on the inner loop was swapped for the stock right turnout from the outer loop. The ground throw was installed to the problematic turnout with no need for the shim, which was removed.
Both locomotives, with their attached battery cars, were placed on the inner loop straight section leading to what was the problematic turnout. In turn, each locomotive was gently pushed straight through what had been the problematic area several times. There didn't seem to be any problem. Next the process was repeated while going through the switch to the outer loop. Again, there didn't seem to be any problem. The locomotives were started and the whole process repeated, in turn, with no problems noted. Rolling stock was added to each train and both trains were run in all directions while paying particular attention to what was the problematic area. No problem showed up during the 1/2 hour of 40 mph runs in all directions for both trains. Several hours of prototypical running and shunting time, over a week, demonstrated no problems in that area of the layout, or through the swapped turnouts. Most of this document has been written sequentially, except for the What I've Learned So Far Section. These problematic turnouts were discovered after the majority of the Kadee couplers had been added and they were being tested during some prototypical running over two days. The problems did not show up on the first day, which was odd, as they suddenly appeared on the second day. I found the following on the Model Railroader forum in a thread titled "Atlas Turnout Problems and Possible Solutions". "Oddly, both turnouts also have a noticeable vertical bend in the middle, which according to a review on the M.B. Klein site I recently read, is a chronic problem with Atlas turnouts." It appears that M.B. Klein's Website is called "Model Train Stuff". I searched that Website, as well as Google and YouTube and could not find any type of review by M.B. Klein. 
Side View
The two photos above show the most east switch on the south side outside loop of the layout. At first I thought that the "humping" of the righthand turnout might be caused by the rails being placed too tightly together and forcing the hump with the expansion of the track due to temperature changes. 
Side View 1
The three photos above show the most east switch on the north side inside loop of the layout. There are small gaps to allow for expansion, so the too tight theory was set aside. Trying to fix the northside, furthest east switch, I ruined it! Lesson learned, don't try to use a heat gun! The right turnout, used in the west end "Y", was used to replace that turnout in the mainline. The following day, Jan. 27, 2023, a new right manual snap switch was purchased at Nankin Hobby in Farmington, MI. The shop had 6 Atlas #543 right and 1 Atlas #542 left Code 83 Snap Switches in stock. I wanted to purchase two rights and one left. All seven turnouts were taken to the counter for examination. When viewed from the side of the clear plastic, all seven turnouts had a bow, which I pointed out to the fellow behind the counter. He confirmed that he could see the bow in the middle as well. Several had very pronounced arching, but I did find one that I thought would be acceptable, a right snap switch. I wanted a right and left for spares, but none of the other switches were acceptable, as the bowing was very pronounced. No spares were purchased. 
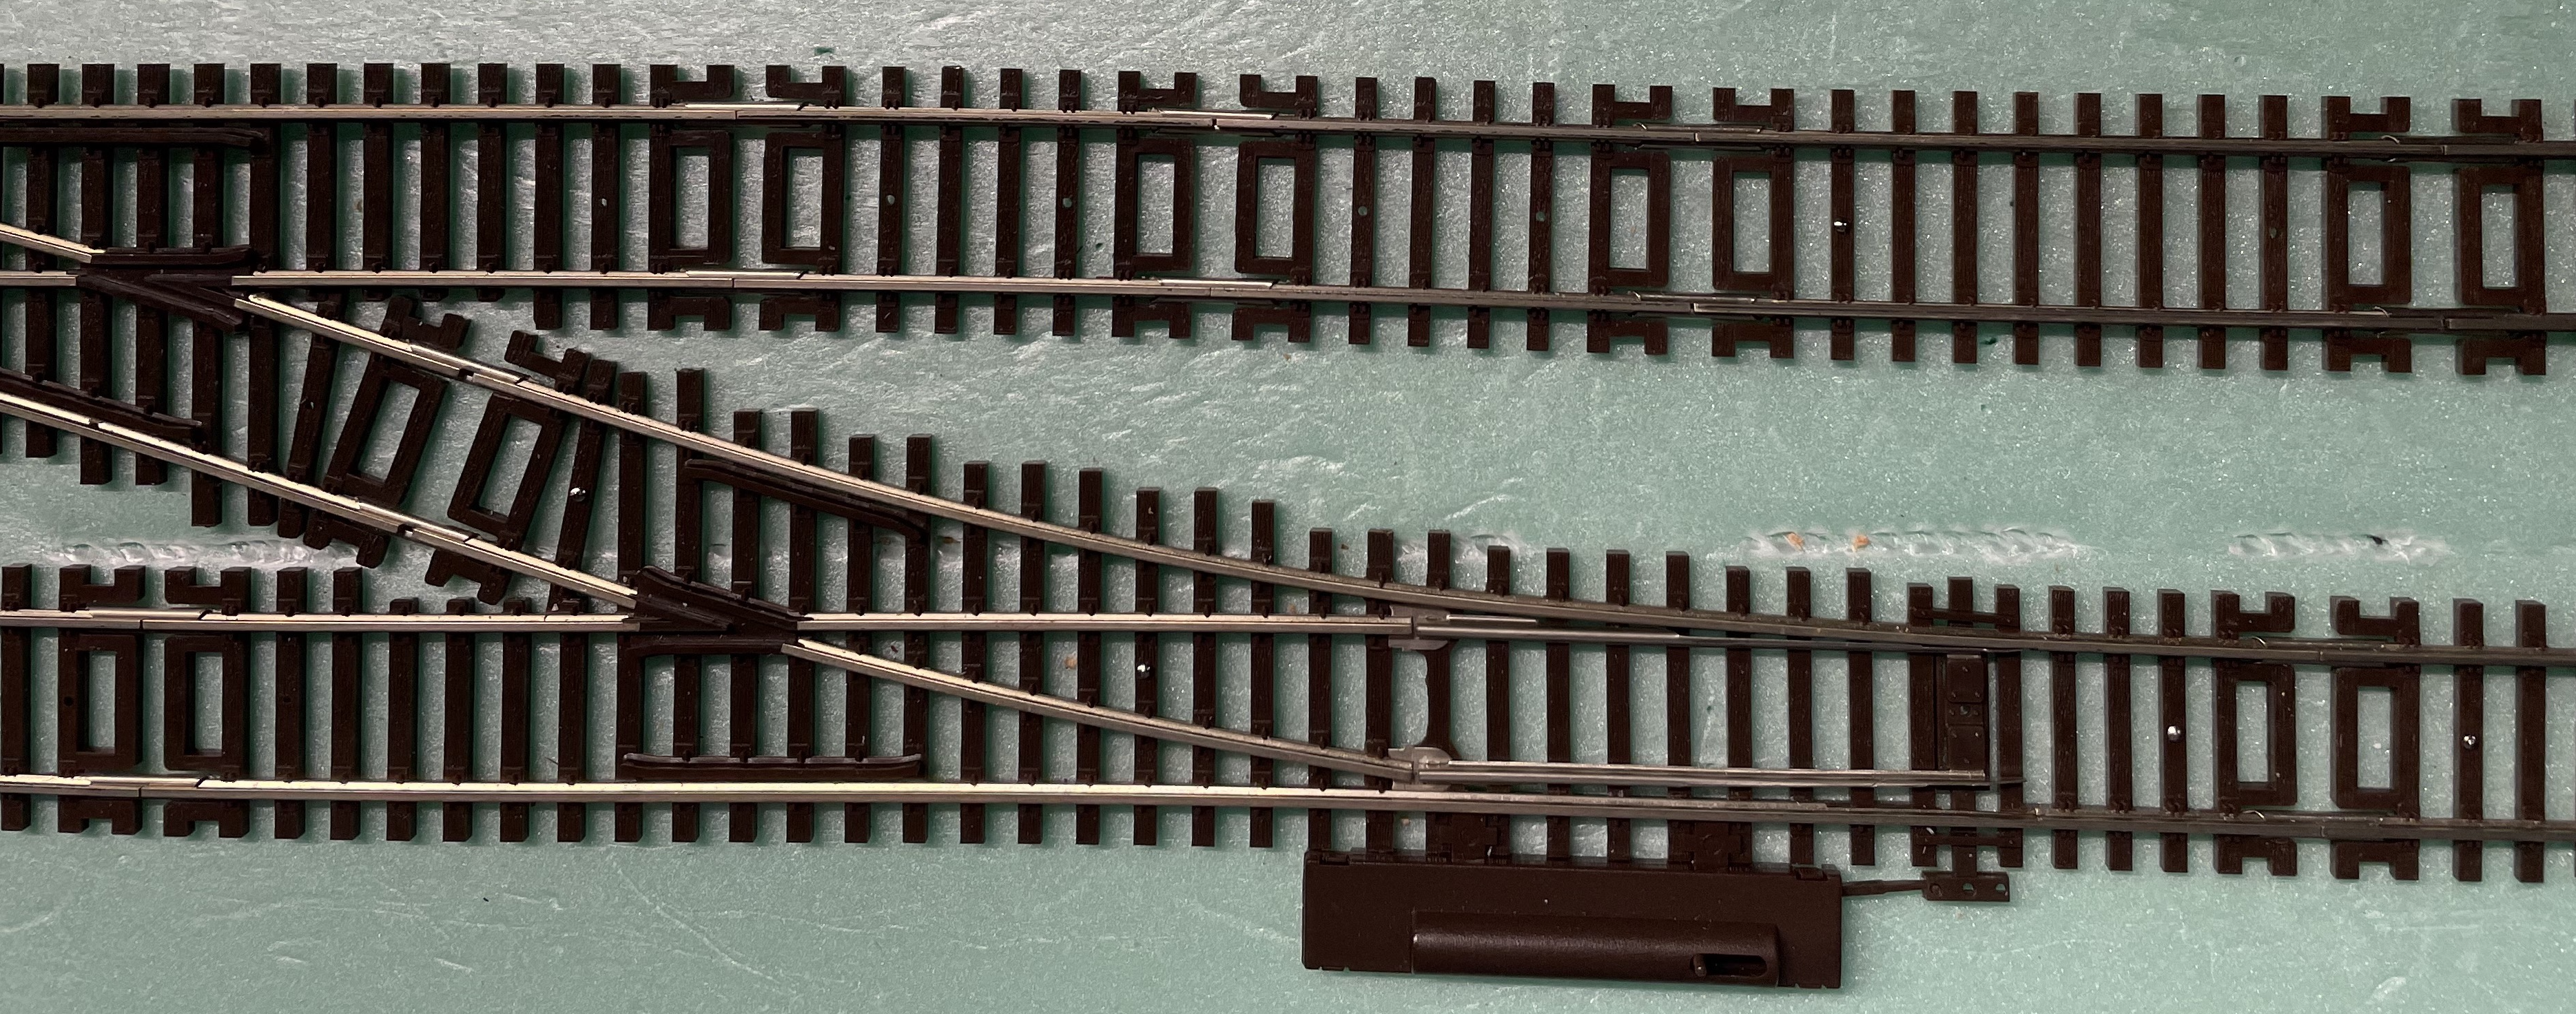
New #543 on layout surface At home, the new turnout was laid on the layout table top and appeared "flat enough" to be useful. The west end "Y" spur was restored using that turnout. Lessoned Learned: When purchasing Atlas Code 83 Snap Switches, view from the side to note excessive bowing or arching. Also, lay the package on a counter. Press down in the center. If the track in the packaging moves down a lot, pass on purchasing that one. |


