By Ken Myers Email Ken Purpose: Description of how I built model railroad benchwork out of Ross Foam Board from Walmart. Why? Some others may find this alternate benchwork idea useful. 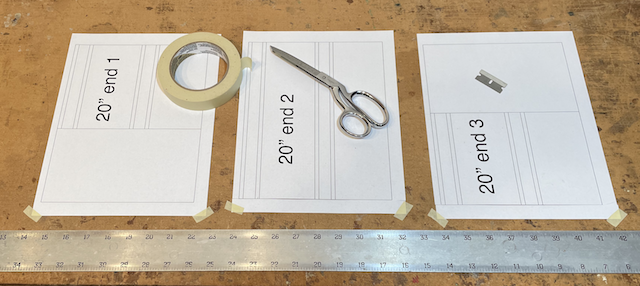 Printed templates were created using a CAD program. The templates were prepared for joining by taping them to the work surface so that they would not slide when cutting them, along the joining lines, using the 48" straight edge and single edge razor blade. 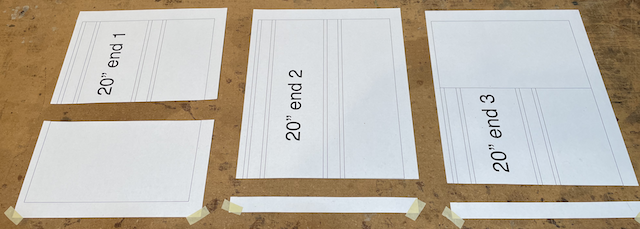 In this photo, the cuts were made and the usable parts of the templates moved away from the scrap.  The template pieces were joined using masking tape. 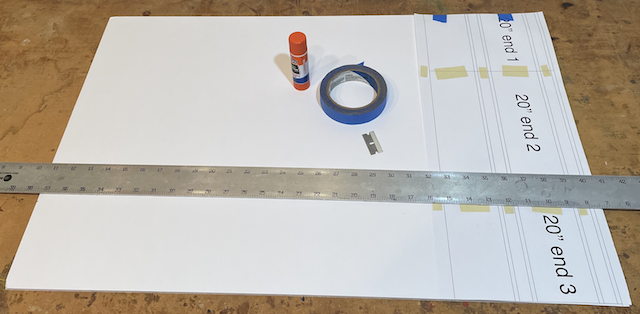 The completed template was attached to foam board using Elmer's Washable School Glue DISAPPEARING PURPLE. 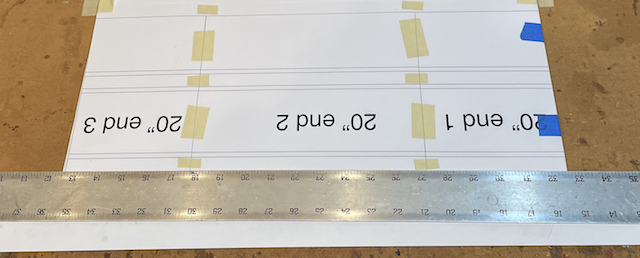 All of the cuts, the two complete cut throughs and the three channels or slots, were cut with a single edge razor blade.  To make the slots, cut the slot line at a 45 degree angle with a single edge razor blade only going about 1/2 way through the foam board. Use an old gift or credit card and run it through the cut line several times so as not to cut all the way through the foam board so that the bottom paper remains intact and becomes the bottom surface of the slot. 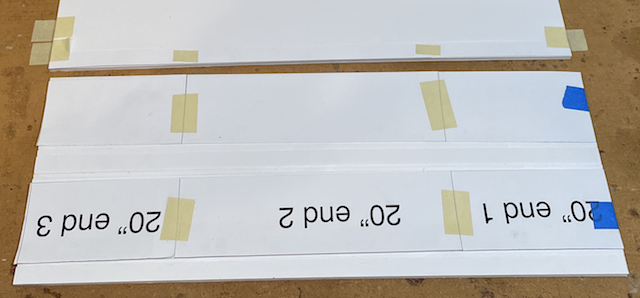 What will become the slots or channels are still in position in this photo.  The template paper was removed.  The three slots, where the folds will be, can be seen in this photo. The top layer of paper and the foam was removed to form the channel with the bottom layer of paper remaining intact. 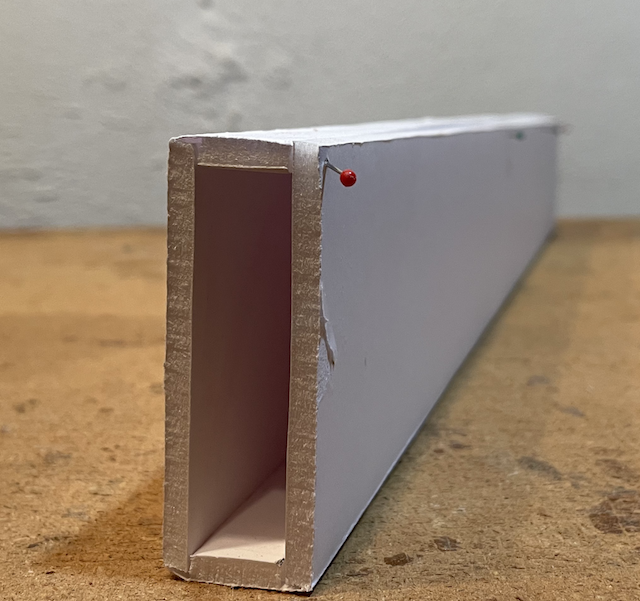 A test fit was made with pins holding the piece together. 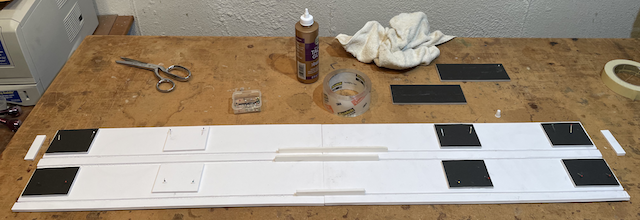 To create the desired length for the side rails and cross pieces, the sections need to be joined. Pieces of foam board were cut to the size to allow the tube to be formed and glued onto the sections to be joined. Note that some of the pieces are black Adam's foam board that I had on hand when I ran out of Ross foam board. 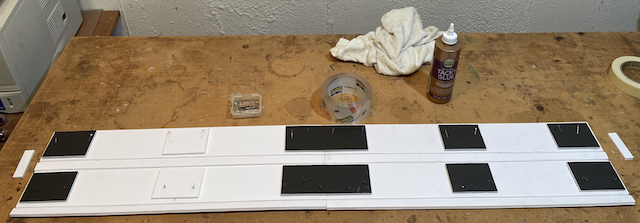 This photo shows two end rail 20" sections joined together to create a 40" long tube. The joint between two section is covered by a double length foam board joiner piece.  The blue lines show where to apply the Aleene's Tacky glue. The glue bead should also be run along the top of the far side in the photo so that when folded, the edge closest to the camera is secured. 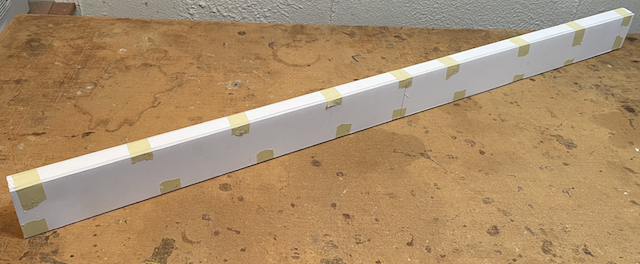 After gluing both sides, the top and bottom are taped together. 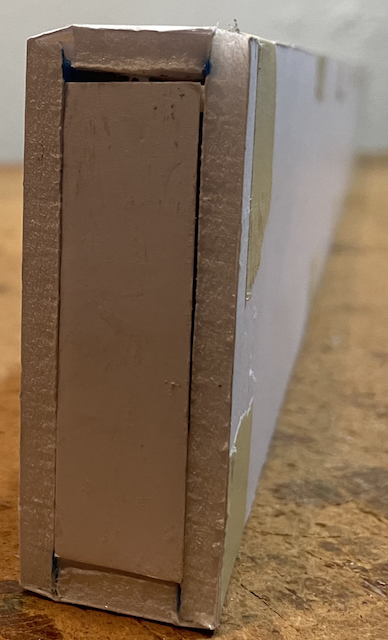 If desired, end caps can be glued in.  Lay the completed 40" assembly, in this case, on a flat surface, weight it down and allow the glue to dry. Yes, the 82" lengths are done the same way. Assemble the 42" x 82" top using Tacky glue and packaging tape. Lay the first layer of bench top on a flat surface and glue on the side, end and cross pieces. When dry, turn the assembled bench top over. Add a second layer of foam board to the top by laminating it "cross grained". |