 |
What's On This Site:
Site Table of Contents |
Min-E Mambo
Construction Plans & Notes
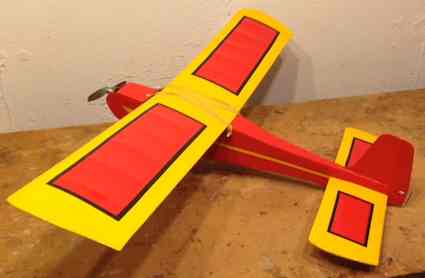
Min-E Mambo, 2014, left side
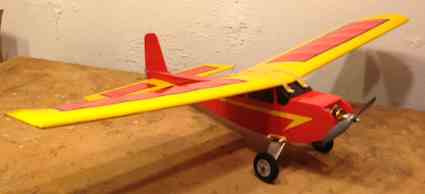
Min-E Mambo, 2014, right side
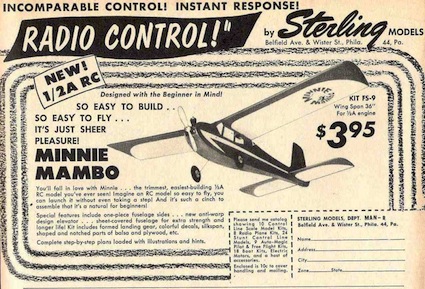
1961 Ad for a Sterling Minnie Mambo
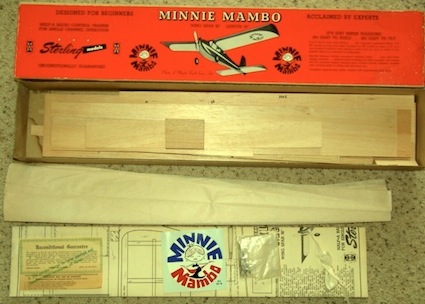
Photo of the 1961 version of the Minnie Mambo kit,
the basis for this tribute
|
AKA the Min-E Mambo By Ken Myers In 1963 I built my second RC plane. It was a Sterling Minnie Mambo. It was rudder only using an escapement. It was powered by a Cox 0.049 glow engine. 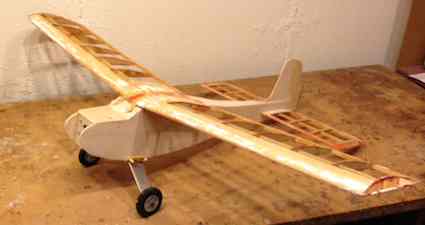
The 2014 Min-E Mambo under construction and restoration My article in the March 2014 Ampeer has a lot of information about how this tribute, e-conversion, and restoration of an original 1963 Minnie Mambo came about. The article also explains the differences between the Version 1 and Version 2 kits. 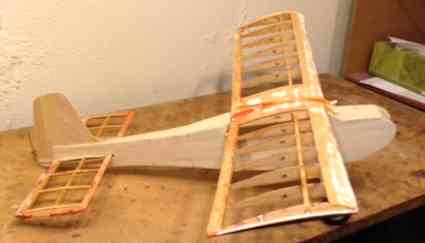 The full size plans are presented as a series of Adobe Acrobat .pdf files. The link to the .pdf file can be clicked to be viewed and saved or right clicked just to save them to your computer. 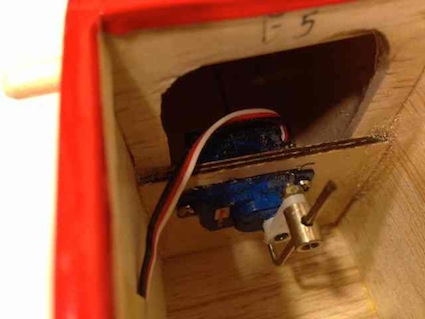
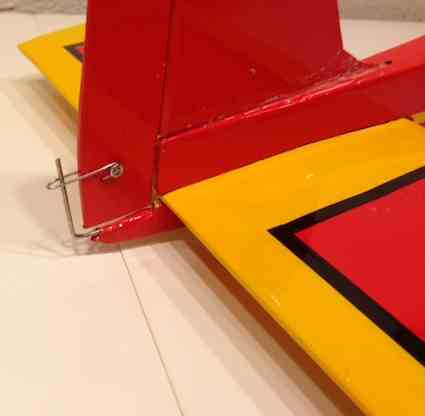
Servo mounted to run the rudder with a torque rod.
The Fuselage Side View: contains the fuselage side view for reference and the templates for the windows and strip on each side of the fuselage. The Fuselage Top View: It contains the fuselage top view, construction details for formers F1 and F2, motor mount F construction detail and landing gear construction details and templates. Wing Plans: It contains the plans for the wing and the templates for the parts layout on the 3/16" x 3" x 36" balsa sheet. Horizontal Stabilizer Plans: It contains only the plans for the horizontal stabilizer. Parts Sheet 1: 3/32" x 4" x 36" balsa sheet containing the fuselage sides, fuselage cross pieces, wing ribs W1 and W3, wing tips and horizontal stabilizer tips
Parts Sheet 2: 3/32" x 4" x 36" balsa sheet containing the vertical stabilizer & rudder parts, and fuselage formers
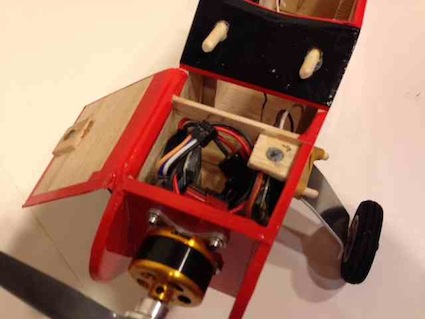
The battery hatch uses a fold-over hinge and magnets. Note: The fuselage is not crooked, its just the camera angle. Wood, Adhesive, Parts & Tool Listing for the plane as built. Conctruction Notes: Complete construction notes for this electric power version. 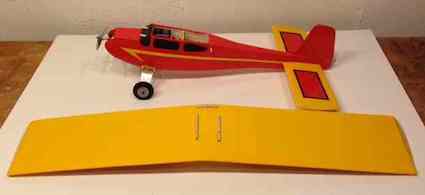
Shows the fuselage 'crackers' on the wing for alignment when using rubber bands. Unlike other sites, there is NO paid advertising on this site! When you see an ad link, Ken Myers uses and recommends the product(s), supplier or manufacturer. He uses the "stuff" or supplier himself! Click image to visit the Retro RC site |
